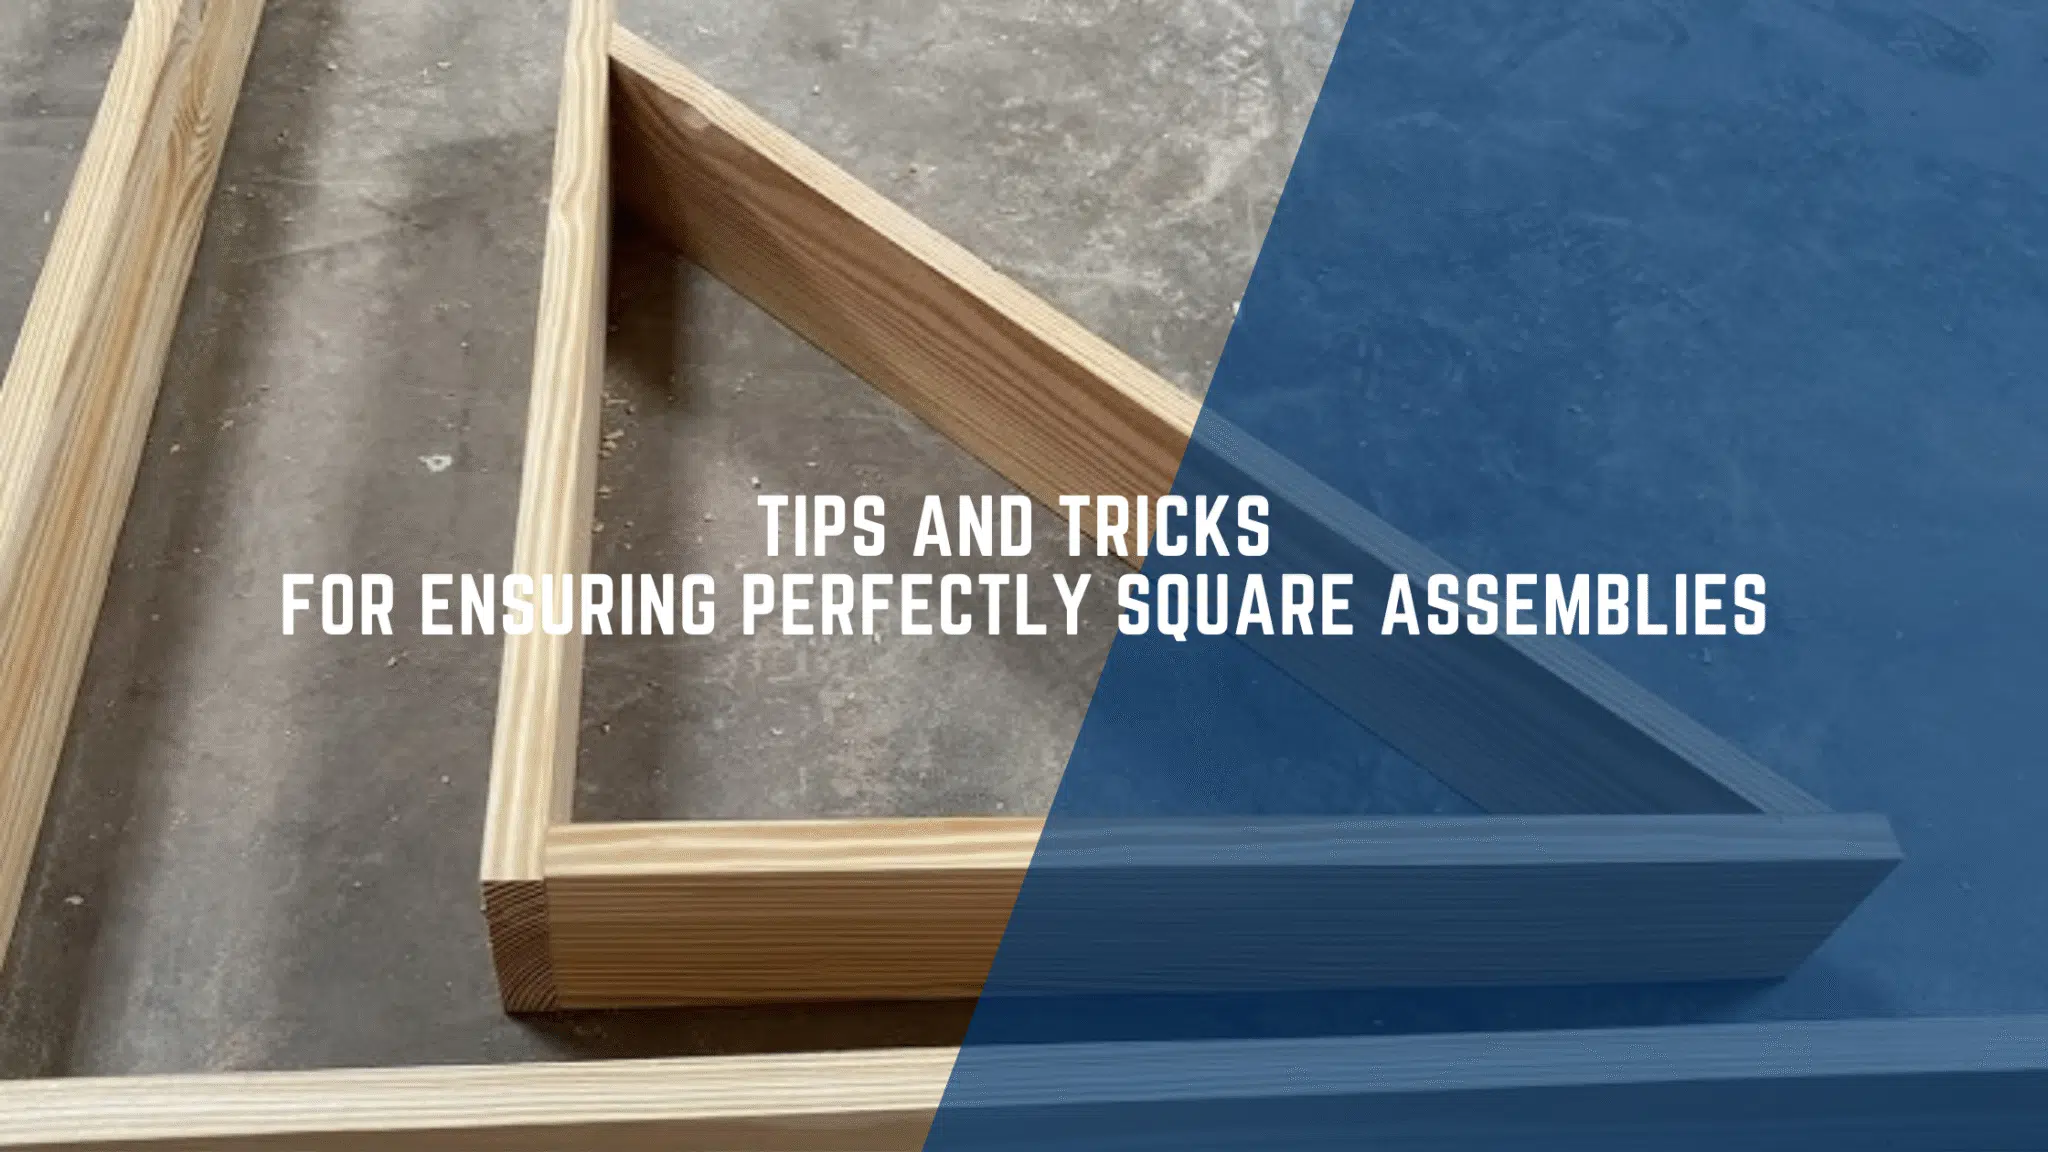
Many construction projects hinge on the importance of achieving perfectly square assemblies. Ensuring accurate square alignments can save you time and materials, leading to a stronger and more reliable structure. Here, you will discover effective techniques to measure and adjust your assemblies, reducing the risk of costly errors. By mastering these skills, you’ll enhance the quality of your work, leading to more satisfied clients and a better reputation in the industry.
Perfectly Square Assemblies Key Takeaways:
- Measuring Methods: Utilise the 3-4-5 triangle method to verify right angles accurately. Measure 3 units along one side, 4 units along the adjacent side, and check that the diagonal measures 5 units.
- Level Surface: Ensure the surface is level and stable before commencing assembly. This will significantly reduce discrepancies in alignment.
- Diagonal Measurements: Regularly measure diagonally across the assembly. Equal diagonal lengths indicate that your structure is square.
- Use of Squaring Tools: Implement squaring tools, such as framing squares or laser squares, to assist in achieving precise alignments.
- Stage Checks: Perform alignment checks at each stage of assembly rather than waiting until completion. This approach allows for adjustments and corrections to be made promptly.
Understanding the Basics of Squaring
For any construction project, achieving perfect square alignments is vital for ensuring stability and functionality. Squaring refers to the precise arrangement of edges or components at right angles to one another. A well-executed square assembly guarantees that the structure will not only stand the test of time but also offers aesthetic appeal, making it a fundamental skill for every builder.
Definition of a Square Assembly
Basics of a square assembly involve the arrangement of components such that they form accurate 90-degree angles. This fundamental concept ensures that your construction maintains its integrity and aligns correctly, setting a solid foundation for subsequent work.
Importance of Squaring in Construction
 Definition of squaring in construction cannot be overstated, as it directly influences the structural integrity and aesthetics of your project. Without proper squaring, you risk creating misaligned elements, leading to weaknesses in the overall framework.
This is where the significance of squaring becomes clear. Accurate squaring prevents structural failures and safety hazards, minimising the chances of costly errors down the line. Moreover, square alignments ensure that your finished project not only looks appealing but also functions efficiently. Emphasising squaring during construction can save you time and money, making it a key aspect of a successful build.
Tools for Achieving Square Alignments
Clearly, utilising the right tools is important for ensuring perfectly square assemblies in your construction projects. A proper collection of measuring devices not only enhances accuracy but also saves you time and effort in the long run. Each tool has its specific purpose, helping you identify and maintain squareness at every stage of your build.
Essential Tools
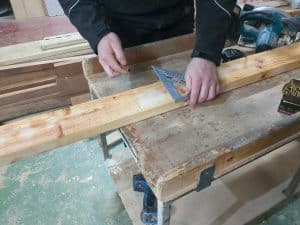
Between your foundational measuring options, a combination square and a framing square are indispensable. These tools provide you with immediate feedback on whether your angles are square, serving as reliable companions throughout your project.
Advanced Measuring Devices
After setting up with important tools, consider integrating advanced measuring devices for even greater precision. These sophisticated instruments offer enhanced accuracy and can dramatically improve alignments. Examples include laser levels and digital angle finders, which allow you to assess your work with pinpoint exactness.
- Laser Levels
- Digital Angle Finders
- Self-Levelling Instruments
Advanced Measuring Devices
| Laser Level | Projects a laser line that helps you achieve level and square alignments over distances. |
| Digital Angle Finder | Measures angles accurately, ensuring your cuts and joints are precisely square. |
Another important consideration is maintaining your measuring devices to ensure they function accurately. Regularly calibrating your tools can help maintain their reliability. Additionally, familiarising yourself with their features will allow you to maximise their potential in achieving precise alignments.
- Regular Calibration
- Understanding Features
- Protecting from Damage
Maintaining Measuring Devices
| Calibration | Perform this routinely to avoid inaccuracies. |
| Care | Store devices safely to protect them from physical harm. |
Methods for Checking Square
 Despite various techniques available, it is crucial to choose the right method for ensuring your assemblies are square. Regularly checking your work at each stage can help avoid costly mistakes and rework later on. Whether you’re an experienced builder or a DIY enthusiast, understanding these methods will enhance the integrity of your projects and lead to greater accuracy in your constructions.
Traditional Techniques
Beside advanced tools, many traditional techniques such as the 3-4-5 triangle method remain effective and reliable. By measuring three units in one direction, four units in the perpendicular direction, and ensuring the diagonal measures five units, you can quickly obtain a square layout. This method is not only cost-effective but also readily accessible, making it perfect for on-site checks.
Modern Approaches
About modern advancements, digital tools and laser levels have transformed how you check for square alignments. These devices offer increased precision and reduce human error in measurements, allowing you to complete projects with confidence. Furthermore, they often come with features that simplify alignment tasks, offering improved efficiency in your workflow.
Even with these technological advancements, understanding traditional methods remains beneficial. Using laser levels can dramatically enhance accuracy, ensuring your projects stand the test of time. Moreover, incorporating digital measuring tools can minimise common mistakes that lead to misalignment, thus protecting your investments. Embrace these modern approaches alongside traditional techniques for a comprehensive strategy to achieve perfectly square assemblies.
Tips for Maintaining Square During Assembly
Many builders find that maintaining square during assembly is important for achieving professional results. To ensure your structure remains perfectly aligned, consider the following tips:
- Use a reliable square tool for initial measurements.
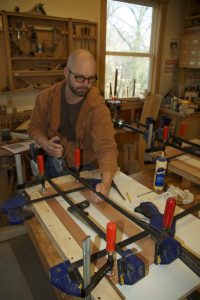
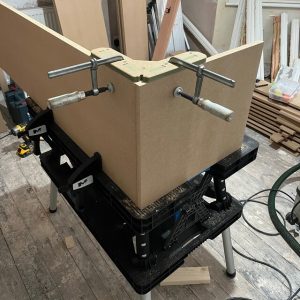
- Secure corner braces to hold pieces in place.
- Check diagonal measurements to confirm square alignment.
- Adjust your materials gradually during assembly.
This approach will help you create an assembly that stands the test of time.
Best Practices
 Above all, consistency in checking your measurements is key. Regularly verify your work using a combination of measuring tapes and levels to ensure everything remains aligned throughout the assembly process.
Common Mistakes to Avoid
With construction, you may overlook the importance of double-checking your measurements. Skipping the verification process can lead to misaligned components that compromise your project’s integrity.
This oversight can result in serious structural issues down the line. Ensure you are constantly checking measurements and employing bracing techniques to maintain your square alignment. Not doing so may lead to costly rework and wasted materials, negatively impacting your project’s timeline and budget. Prioritising accuracy from the onset will foster a more robust and reliable assembly.
Troubleshooting Misalignments
Unlike achieving perfect square assemblies, addressing misalignments can often be frustrating. However, with systematic troubleshooting, you can pinpoint the issue and restore accuracy to your project.
Identifying the Problem
Problem areas may include misaligned corners or irregular spacing, which can arise from a variety of sources, including poor measurements or improperly set reference lines. To identify the issue, you should measure diagonally across the structure, ensuring both measurements are equal. This step will help reveal any discrepancies.
Corrective Measures
Along with accurate measurements, you can implement practical adjustments. Start by adjusting your framework based on the measurements you’ve taken, ensuring that all corners are at right angles. If necessary, use shims or wedges to fill gaps, providing added stability to your assembly.
And, once adjustments are made, recheck the diagonals to confirm that your structure is indeed square. Use a good quality level to ensure your work is even and stable. If persistent misalignments occur, double-check your reference points; they may require realignment. Work carefully and methodically, as even minor errors can escalate, leading to significant structural issues. Involving a second pair of hands can also help in achieving better precision during the correcting process, ensuring your assembly remains true.
Real-World Examples of Square Assemblies
Keep in mind that achieving square alignments isn’t just theory; it’s applied practice. Many construction projects have demonstrated the importance of precision, showcasing how square assemblies can lead to lasting stability and performance.
Case Studies
Across the industry, numerous case studies underscore the benefits of maintaining square alignments:
- Project A: A residential build with a 98% satisfaction rate attributed to precise measurements and square techniques.
- Project B: A commercial structure saved 15% in materials due to reduced wastage from optimal square layouts.
- Project C: An industrial project improved productivity by 20% after implementing square assembly checks.
Lessons Learned
Examples from these projects illustrate key takeaways that can enhance your own practices. Attention to detail and utilising the correct tools significantly influence your outcomes.
Case studies like the ones mentioned reveal that small oversights, such as inaccurate measurements, can lead to significant setbacks, both in time and expenses. An ongoing focus on precision and regular verification of squareness can foster a more efficient workflow, preventing costly mistakes and ensuring your projects stand the test of time. Your commitment to these principles will yield not only structural integrity but also client satisfaction.
Summing up
So, to achieve perfectly square assemblies, you should always employ the 3-4-5 triangle method, use reliable measuring tools, and double-check your work at each stage. Establishing a solid reference point helps maintain consistency, while paying attention to minor adjustments can prevent larger discrepancies later on. Take your time when laying out and assembling components, as precision in the early stages will yield better results throughout your construction project. By following these tips, you can ensure your structures are well-aligned and visually appealing.
Perfectly Square Assemblies FAQ
Q: What are the best methods to check if my structure is square during construction?
A: To determine if your structure is square, you can use the 3-4-5 triangle method. Measure out one side of your shape to 4 units, then from the same corner, measure 3 units perpendicularly. The hypotenuse between these two points should measure exactly 5 units if your structure is square. Additionally, using a framing square or a laser level can provide accurate results. Always check your measurements from multiple sides to ensure consistency.
Q: How can I ensure my materials are aligned squarely before assembly?
A: Prior to assembly, lay out all materials in a flat and level area. Use a chalk line or string to mark your intended dimensions clearly. Employ the previous triangle method to check the alignment of your marked lines. For added precision, use clamps to hold materials in place while double-checking measurements before fastening anything together. Ensuring everything is aligned correctly from the start will greatly enhance the overall quality of your assembly.
Q: What adjustments can be made if I discover that my assembly isn’t square after starting?
A: If you find that your assembly is not square, adjustments can be made depending on the stage of construction. If it’s still in the early stages, carefully loosen fasteners and shift materials to align them properly, checking with a square tool as you go. For more advanced stages, you may need to use shims or brackets to correct misalignments. It’s advisable to plan for these adjustments in your project timeline to avoid delays and maintain quality.