Introduction to concrete screws and when to use them
Concrete screws are mechanical fasteners designed to cut threads into masonry as they are driven. They are a practical choice when you need a strong, removable fixing in concrete, brick or dense block and prefer not to use chemical anchors or heavy expansion bolts. When using concrete screws, it’s essential to ensure proper drilling depth and diameter to achieve optimal holding strength. Additionally, applying appropriate torque can further enhance their durability and effectiveness. For those looking to maximize their installation success, consider these tips for durable masonry screws.
They work by tapping their own thread into a pre-drilled hole. That makes installation straightforward: drill a pilot hole, clear the debris, then drive the screw to the required depth. The result is a reliable hold that is often sufficient for light-to-medium structural tasks such as fixing frames, brackets and decking to solid bases.
Not every substrate is suitable. Avoid using them in soft blocks, mortar joints or thermally insulating blocks. For those situations a different anchor type will perform better.
Essential tools and fixings
Types of concrete screws and head styles
Concrete screws come in a range of diameters and lengths. Smaller diameters work well for light fittings; larger diameters provide much greater pull-out resistance. Typical sizes encountered for domestic and light commercial work include around 5 mm, 6 mm, 8 mm and larger.
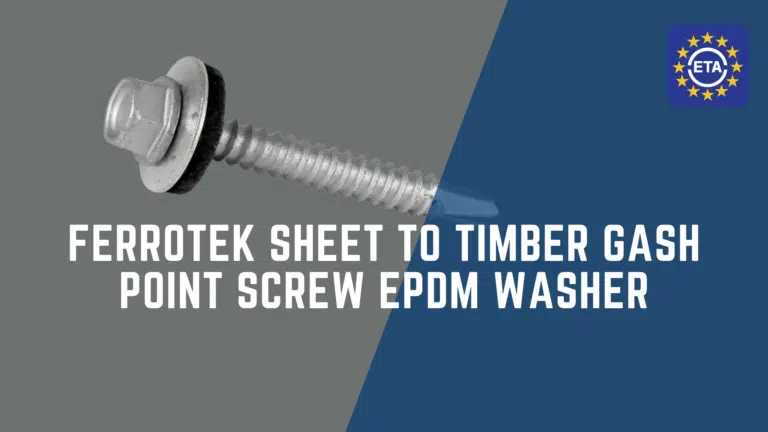
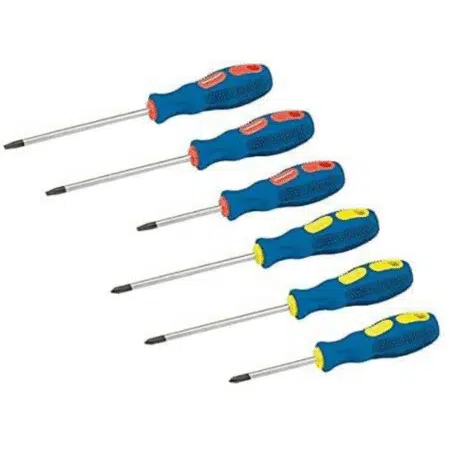
Head styles vary too. Pan heads and countersunk heads are common. Torx and hex drive heads are most frequent because these drives tolerate high torque without camming out. Stainless steel versions exist for corrosive exposures; carbon steel screws are generally cheaper but may need coatings or protective design for outdoor use.
Drill types and driver choices
An SDS hammer drill or an SDS-plus rotary hammer is the preferred tool for making pilot holes, especially where multiple holes or thicker concrete are involved. For smaller projects, a corded rotary hammer or even a robust cordless SDS drill can be fine. The key requirement is the ability to drill clean, straight holes of the correct diameter and depth.
For driving the screws, an impact driver is convenient. It delivers the torque needed to seat the screw quickly. Some people express caution about using impact drivers, fearing damage to the thread, but when used carefully they are effective. If you prefer, a drill/driver with torque control will work too.
Useful accessories for cleaner holes
A tape marker on the drill bit helps control depth more reliably than some built-in depth stops. A small manual hand blower, a powered leaf blower or a hole-cleaning pump will assist in removing dust from holes, which reduces the chance of screws bottoming out.
Compressed air or a simple brush can also help. For jobs near water or where openings may fill with debris over time, consider seals or plugs tailored to the fixing method.
Preparing the hole for a reliable fixing
Marking pilot depth and correct drilling technique
Mark the drill bit with tape so you drill beyond the screw length by a modest amount. Going a little deeper than the screw prevents dust compaction at the bottom and ensures the screw seats fully. Account for the thickness of the material you are attaching when setting depth.
Drill perpendicular to the surface whenever possible. Hold the drill firmly and allow the tool to do the work; forcing the bit risks wandering or breakage. If you hear the drill struggling, stop and back the bit out to clear dust rather than pushing through.
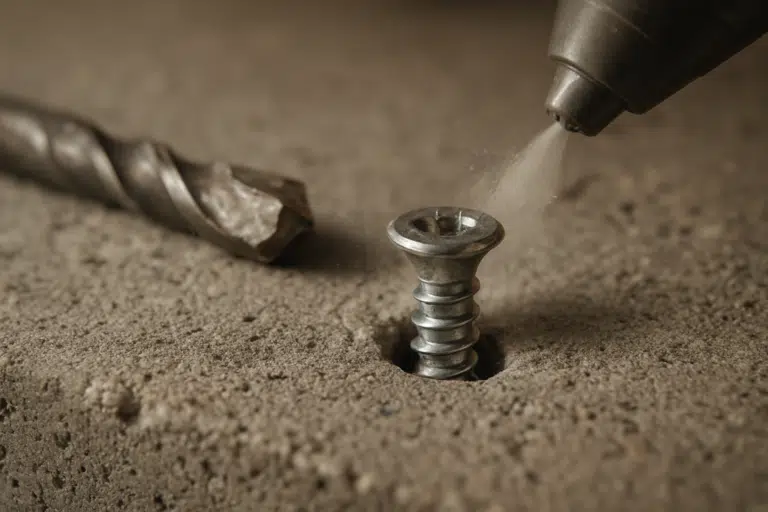
Clearing dust and preventing the screw from bottoming out
Clearing dust from the hole after drilling is a simple but critical step. Dust left in the hole accumulates and can stop the screw from cutting a proper thread, causing it to bottom out before engaging the substrate. Back the drill out periodically while drilling to allow dust to evacuate, then use a blower or compressed air to clear the hole before driving the screw.
Short holes in particular can trap debris, so make sure to clear them thoroughly. If a screw bottoms out, remove it and either re-drill deeper or clear and re-clean the hole, then try again.
Common problems and how to avoid them
When a screw bottoms out or strips the thread
Bottoming out happens when debris or compacted dust prevents the screw tip from reaching the solid base. The fix is to remove the screw, clear or re-drill the hole, and ensure a proper depth before reinstalling.
Thread stripping can occur if the concrete is too soft or if you continue driving after the fixing has established grip. Stop driving once firm resistance is reached. If stripping has happened, you may need a larger-diameter screw or an alternative anchor.
Dealing with a jammed drill bit and battery drain
A jammed drill bit is a hazard — it can twist the tool and cause injury. If the bit binds, immediately stop, set the drill to reverse and withdraw the bit gently. If a bit becomes stuck, use appropriate pliers or an extraction tool rather than applying excess force. Regularly clearing dust minimises the chance of bits jamming.
Cordless tools can run batteries down quickly when drilling many holes in dense concrete. Use high-capacity batteries where needed and consider swapping to a mains-powered SDS hammer for extended work. Keep an eye on tool balance and ergonomics; some lighter or poorly balanced SDS drills can feel awkward and tire you faster.
What to do if a fixing fails
If a concrete screw loses its grip, do not persevere with the same hole. Redrill the hole slightly deeper or choose a larger anchor. For critical or load-bearing fixings consider switching to a wall bolt, through bolt or resin anchor so the load is spread differently. If corrosion or water ingress is suspected, replace the fixing with a corrosion-resistant type.
Real life examples and applications
Small fixings for blocks, windows and door frames
Smaller concrete screws, such as 5 mm or 6 mm diameters, are ideal for window and door frames or fixing lightweight fittings to blockwork. For door frames it is common to pre-drill a 6 mm pilot hole and then use a T30 or compatible drive to insert the screw.
These fixings are quick to fit and allow you to leave the frame in place while drilling. Drill a little deeper than the length of the screw and clear the hole occasionally to prevent bottoming out.
Short paragraph.
Larger concrete screws for decking and outdoor brackets
For heavier brackets and decking you will use larger screws, often 8 mm or more in diameter and longer to reach into solid cast concrete. They provide a convenient way to attach stainless brackets without removing the bracket to insert an expansion anchor.
When outdoor locations are exposed to water, choose stainless steel fasteners and ensure correct pilot drill diameter and depth. If you expect the hole to hold water, consider fixings designed to resist corrosion and seizing.
Alternatives to concrete screws and when to choose them
Wall bolts, through bolts and resin anchors
Wall bolts and through bolts expand inside the hole and are very strong. They work well where the substrate is fractured or where you must anchor into a mortar gap because their expansion can engage the surrounding material even if it is inconsistent.
Resin anchors provide an adhesive bond inside the hole and are excellent for high-load applications or where removal must be difficult. They do require more preparation and curing time but can outperform mechanical anchors in some settings.
Which fixings suit old brick mortar joints or wet locations
Old brickwork and mortar joints pose issues for cutting-thread fixings. Where the brickwork is soft or mortar is crumbly, expansion anchors or resin anchors are usually smarter choices. For wet or coastal locations, stainless steel or specially coated anchors reduce the risk of corrosion and difficulty of future removal.
Material and corrosion considerations
Stainless versus carbon steel fixings
Stainless steel fasteners are the choice for outdoor or corrosive environments despite being more costly. They resist rust and are easier to remove in the long term. Carbon steel screws, often with a blue or other coating, are adequate indoors or in dry conditions but will corrode over time if exposed to moisture.
Stainless fasteners can be less magnetic and sometimes harder to seat with magnetic drivers. They are also softer in some grades, so avoid over-tightening to prevent head damage.
Long term removal and water ingress risks
When fixing into floors or external bases that might collect water, consider how a bolt could seize if water enters the hole. Designs that minimise trapped water, or the use of sacrificial coatings and stainless steel, will save effort later. If removal is possible in future, choose a system that does not corrode together.
Practical tips summary and safety reminders
Best practice while drilling and driving screws
– Mark depth on the drill bit.
– Clear holes of dust frequently.
– Stop when the drill or driver struggles.
– Use the correct pilot hole size for the screw diameter.
Short tip: back the bit out while drilling.
Tool selection, maintenance and ergonomic advice
Select an appropriate SDS hammer for many holes. For driving, use an impact driver or drill with compatible torque. Maintain sharp, undamaged masonry bits and keep batteries charged. Mind the tool balance; use tools you can control comfortably to reduce fatigue and the chance of accidents.
Wear eye protection, ear protection and a dust mask when drilling concrete.
Conclusion and further resources
When to stick with concrete screws and where to seek more detail
Concrete screws are effective for many domestic and outdoor tasks where the substrate is solid and predictable. They are quick, removable and usually adequate for fixing frames, brackets and decking to concrete or dense brick.
For complex or heavily loaded anchors, or where the substrate is uncertain, consult manufacturer guidance or a structural professional before deciding. Technical datasheets and reputable trade guides provide detailed pull-out values and installation guidance for each fastener type.
Short final line: choose the right fixing and follow safe drilling practice.