How to Install Poly Head Pins Fascia Nails: A Step-by-Step Guide for Builders and DIYers
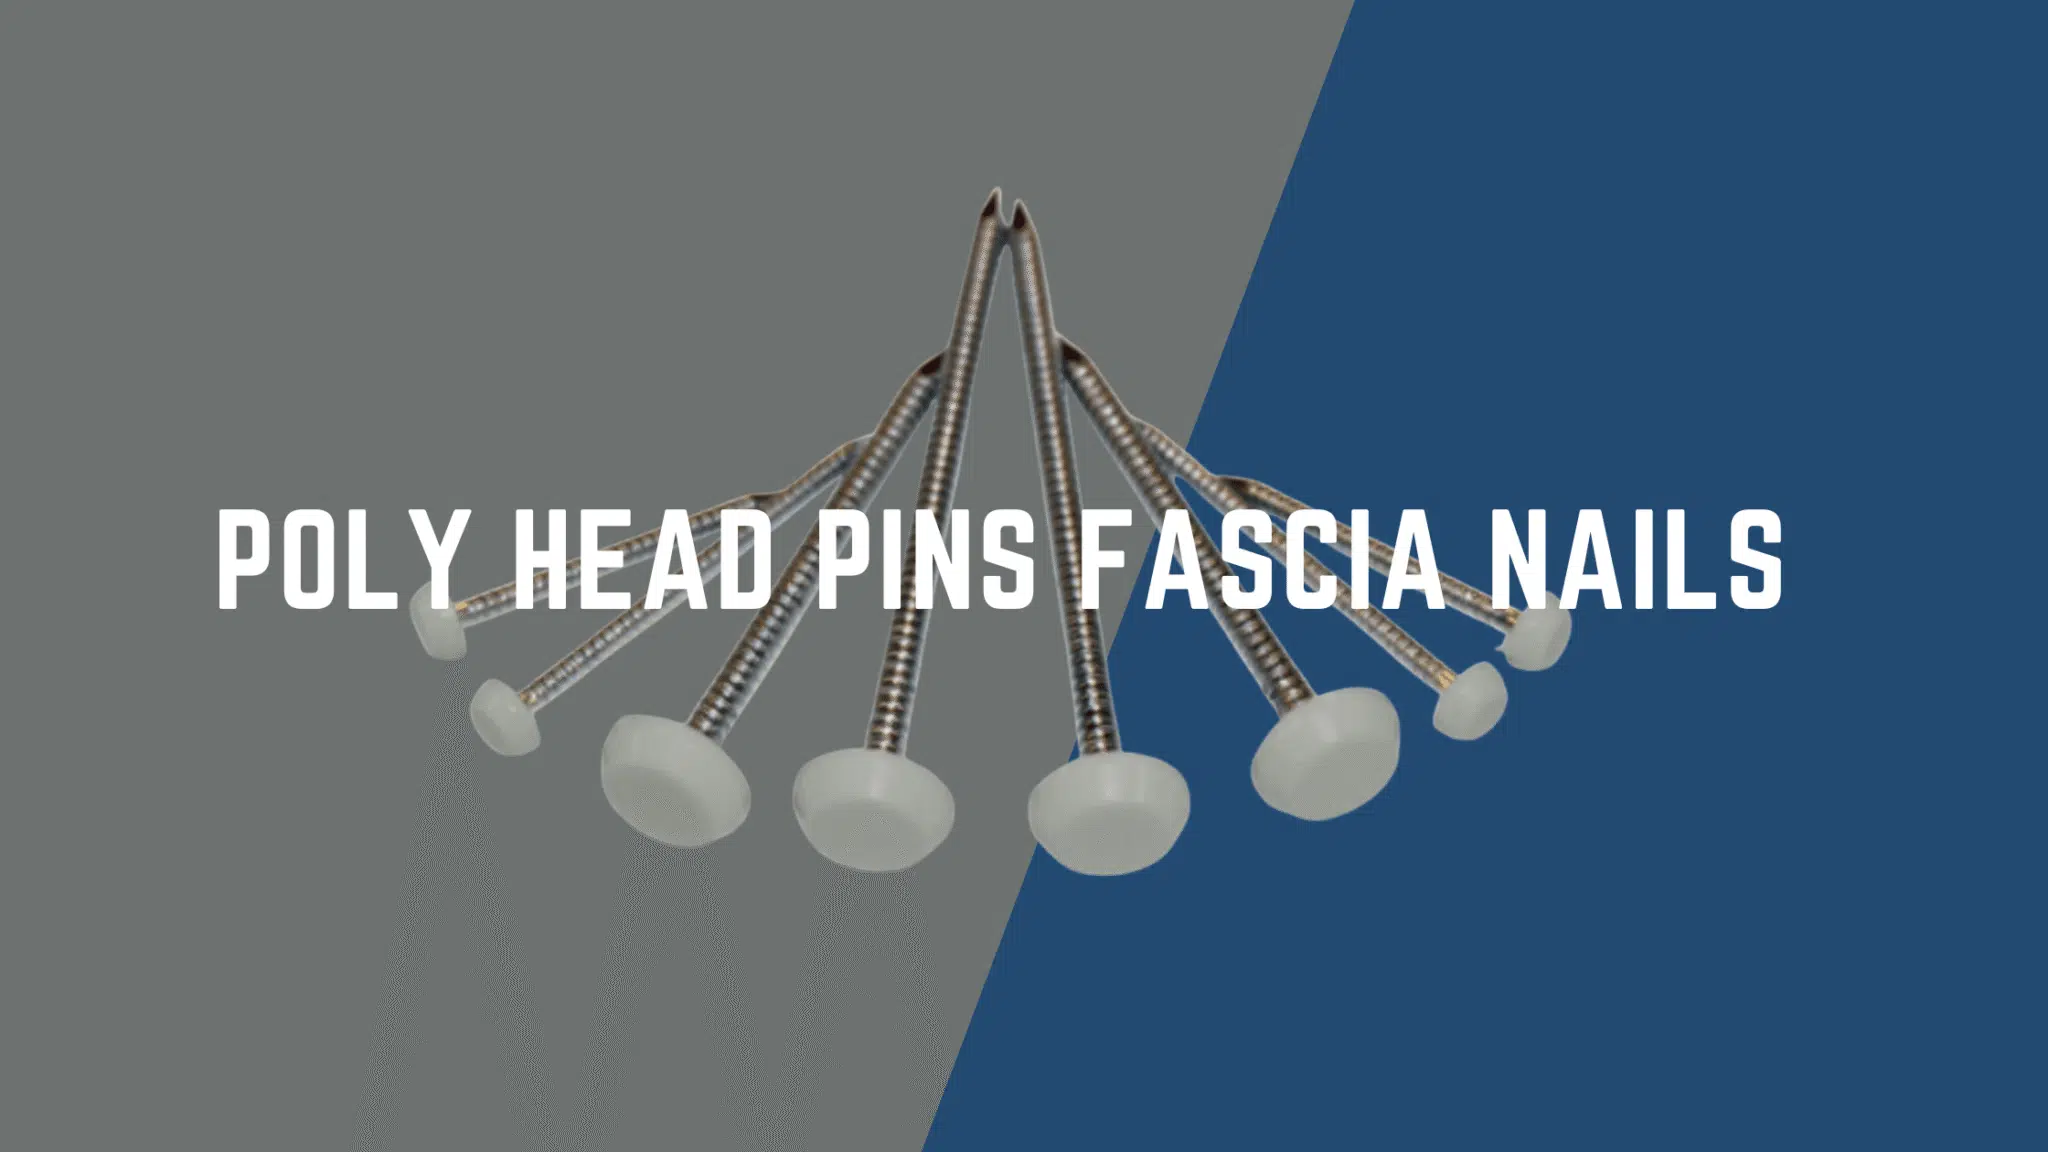
Installing fasteners correctly is as critical as selecting the right product. In this comprehensive guide, we delve into everything you need to know about installing Poly Head Pins Fascia Nails, specifically designed for builders, tradespeople, contractors and DIY enthusiasts. With clear instructions, troubleshooting tips, and highlighted best practices, this article aims to ensure that your installation of Poly Head Pins Fascia Nails is as effective as possible, leading to durable and aesthetically pleasing results.
Step 1: Preparing the Work Site
Before you begin, ensure that your work site is clear of debris and well-lit. A clean environment helps prevent accidental misfires or damage to the fascia boards. Gather all necessary tools including a quality hammer or nail gun, measuring tape, and protective gear. Ensure that your nails are the correct size and quantity for the job at hand.
Understanding how to install Poly Head Pins Fascia Nails will greatly enhance your project outcomes. These nails offer superior holding power and durability, making them ideal for various construction applications. Additionally, knowing the poly head pins benefits for contractors can help improve efficiency on the job site, ultimately leading to enhanced client satisfaction. By incorporating these innovative fasteners, professionals can achieve cleaner finishes and reduce the risk of damage to materials.
Step 2: Marking the Placement Locations
Using a pencil and measuring tape, mark the precise locations on your fascia board where the nails will be driven. Consistent spacing not only achieves an even finish but also helps in distributing the load evenly. This careful planning minimises the risk of splitting the board and ensures durability.
Step 3: Aligning and Pre-drilling (if necessary)
In cases where the material is particularly hard or brittle, consider pre-drilling pilot holes. This reduces the risk of wood splitting and makes the insertion of Poly Head Pins Fascia Nails much easier. Align each nail with the pre-drilled pilot holes carefully before proceeding.
Mastering how to install Poly Head Pins Fascia Nails includes proper alignment.
Step 4: Driving the Nails
Now it’s time to insert the nails. Whether using a manual hammer or a power nailer, maintain a consistent angle to drive the nail straight. The poly head should be firmly anchored yet not so forcefully over-driven that it damages the surrounding material.
Tips and Tricks:
• If you’re using a nail gun, adjust the power settings to suit the material thickness.
• For manual installations, practice on a scrap piece of material to gauge the force needed.
• Keep your hands clear of the impact area by using protective gloves and safety glasses.
Step 5: Finishing Touches and Inspection
Once all nails are installed, carefully inspect the fascia for any misaligned fasteners or unsightly blemishes. A gentle tap with a hammer can be used to adjust any nail that might have been over-driven. If any nails appear loose, re-check the alignment and ensure that the correct size was used.
Final inspections should reflect your knowledge of how to install Poly Head Pins Fascia Nails correctly.
Troubleshooting Common Installation Issues
• Nail Splitting: Double-check your pilot holes and consider reducing the driving force.
• Misalignment: Ensure that your markings are precise and that you are consistently driving at the same angle.
• Incomplete Fixing: If nails are not sitting flush, adjust your tool settings and re-read the product instructions.
If issues arise, revisiting how to install Poly Head Pins Fascia Nails can help.
Case Studies/Real Use Examples
Case Study 1: Local Builder’s Renovation Project
A local builder recently used Poly Head Pins Fascia Nails to refurbish an older property’s fascia. By closely following the steps above, the builder was able to secure the boards without any splitting or misalignment issues, resulting in a project completed both on time and with exceptional aesthetic accuracy.
The builder’s success demonstrates the importance of knowing how to install Poly Head Pins Fascia Nails. This skill not only ensures a durable and reliable finish but also enhances the overall integrity of the structure. By utilizing poly head pins for construction, builders can achieve a superior hold that withstands various weather conditions. Consequently, this attention to detail contributes significantly to the longevity and resilience of the project.
Case Study 2: DIY Garden Shed Refurbishment
An enthusiastic DIYer opted for these nails for a garden shed repair. The careful measurements and proper use of a nail gun resulted in a neat, long-lasting fix. The homeowner later remarked on how straightforward and effective the installation process was, even for someone with limited construction experience.
This DIY project highlights how to install Poly Head Pins Fascia Nails effectively.
How to Install Poly Head Pins Fascia Nails Frequently Asked Questions
1. Do I need to pre-drill before using Poly Head Pins Fascia Nails?
For most wood types, pre-drilling is not always necessary. However, for materials prone to splitting, pre-drilling can ensure a clean, efficient installation.
2. Can I use both a manual hammer and a nail gun for installation?
Absolutely. Both methods are valid. The choice depends on your comfort level and the specific requirements of your project.
3. What do I do if a nail does not drive in straight?
Re-assess your alignment and practise on a scrap material first. Adjusting the angle and applying even pressure should resolve the issue.
Proper installation of Poly Head Pins Fascia Nails is key to ensuring that your construction projects perform to the highest standards. By following these steps and adopting the recommended best practices, you can be confident that your installations will stand up to rigorous use and harsh weather conditions. Additionally, implementing regular maintenance checks will help prolong the lifespan of your installations. For optimal performance, consider our maintenance tips for fascia nails, which can guide you in addressing any wear and ensuring reliability. By paying attention to these details, you can maintain the integrity of your work and safeguard your investment over time.
By mastering how to install Poly Head Pins Fascia Nails, you ensure long-lasting results.
For more guidance, be sure to visit our main pillar blog post Poly Head Pins Fascia Nails – The Ultimate Construction Ally, which covers additional details on benefits and use cases. If you’re interested in exploring further, our product page is the best place to get the most up-to-date information on Poly Head Pins Fascia Nails. Also, check out our other cluster articles on maintenance, safety, and cost analysis for a comprehensive perspective on optimising your installation process.
For additional insights on how to install Poly Head Pins Fascia Nails, refer to our resources.

